
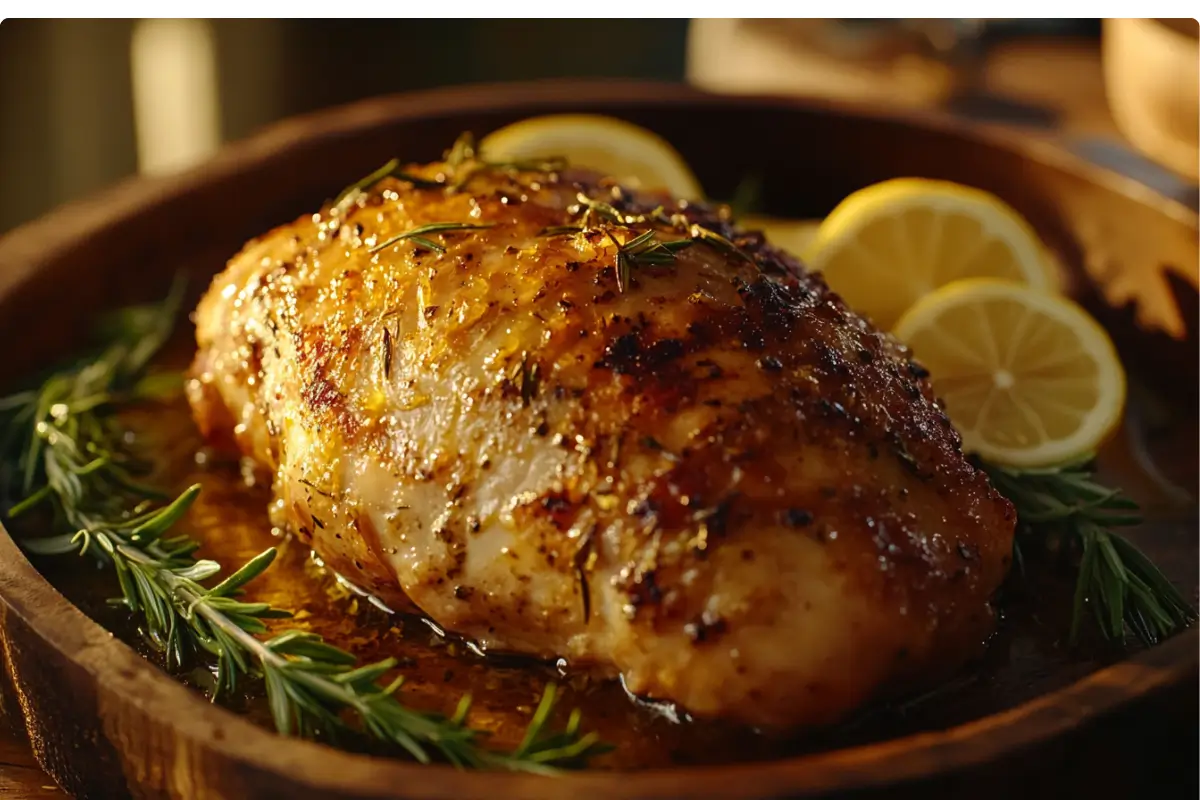
When it comes to baking chicken, nothing’s more frustrating than pulling it out of the oven only to find it dry and flavorless. But here’s the good news: keeping chicken moist while baking isn’t rocket science—it just requires the right techniques. Whether you’re preparing chicken breasts, thighs, or a whole bird, there are simple strategies to lock in juiciness and bring out maximum flavor.
In this article, we’ll dive into the reasons chicken dries out, the best preparation methods, and cooking techniques to ensure moist results every time. From brining and basting to baking at the right temperature, you’ll learn step-by-step how to prevent that dreaded dryness. Ready to transform your baked chicken into a tender, juicy masterpiece? Let’s start with understanding the root of the problem.
Why Does Chicken Dry Out While Baking?
Understanding the Science of Moisture Loss
Chicken dries out in the oven for one major reason: heat. When you bake chicken, the heat forces water out of its protein fibers. This process, known as denaturation, begins the moment the meat gets too hot. The higher the temperature, the faster those fibers tighten up, squeezing out moisture like a sponge.
Overcooking is another culprit. Many home cooks are tempted to err on the side of caution, baking chicken longer than necessary to avoid undercooking. Unfortunately, this can lead to dry, stringy meat instead of the juicy baked chicken we all crave.
Importance of Proper Techniques for Retaining Juiciness
So, how do you fight back against the science? Proper preparation and cooking techniques can make all the difference. It starts with the basics—like brining, marinating, and using a meat thermometer—to ensure your chicken doesn’t overcook.
Another secret? The right temperature. Baking chicken at lower temperatures prevents the proteins from over-tightening too quickly, while high-heat methods can sear the surface, trapping moisture inside. As we’ll explore later, even how you slice and serve your chicken impacts its moisture retention.
Preparation Techniques to Keep Chicken Moist
Brining: The Secret to Juicy Chicken
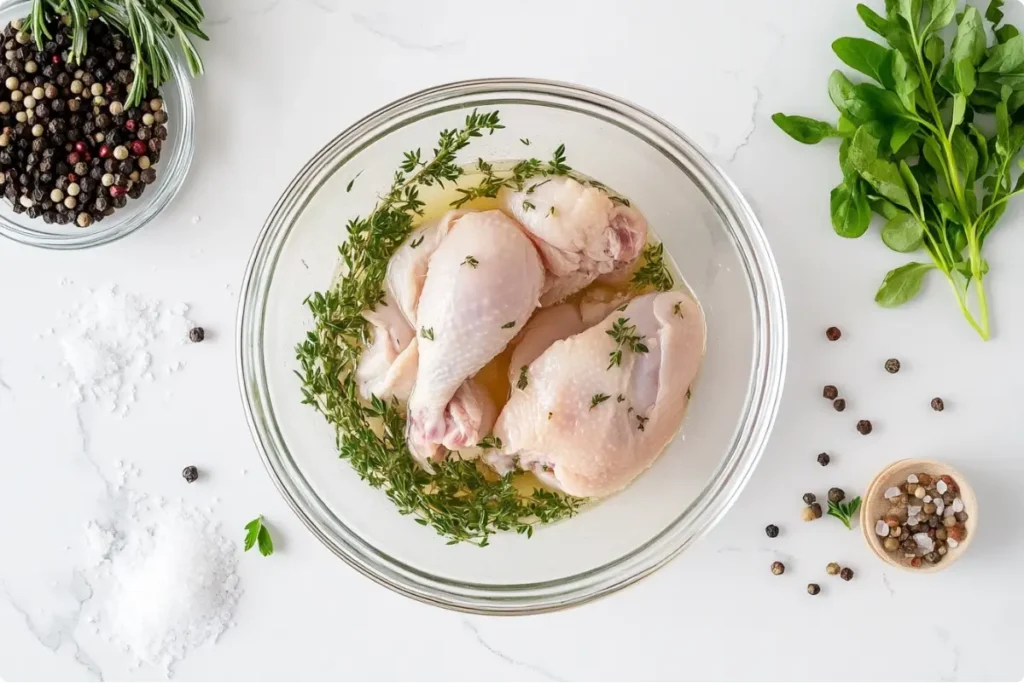
Brining is a game-changer when it comes to keeping chicken moist while baking. A brine, typically made with water, salt, and sometimes sugar or herbs, works by infusing moisture into the chicken before it even hits the oven. This process not only hydrates the meat but also helps it retain its natural juices during cooking.
For quick results, you can prepare a basic brine with 4 cups of water, 1/4 cup of salt, and a tablespoon of sugar. Submerge your chicken for at least 30 minutes, but for the best results, let it soak overnight in the refrigerator. Want an extra flavor boost? Toss in garlic, rosemary, or lemon slices to elevate the taste.
If you’re experimenting with baked chicken recipes, you’ll find brining especially useful when preparing lean cuts like chicken breasts, which are more prone to drying out. A brined chicken ensures moist, flavorful meat with every bite.
Marinating for Flavor and Moisture Retention
While brining focuses on hydration, marinating is all about combining moisture with bold flavors. Marinades typically include three components: acid (like lemon juice or vinegar), fat (such as olive oil), and seasonings (herbs, garlic, or spices).
The acidic component breaks down proteins slightly, making the meat tender, while the fat locks in moisture. For baked chicken, marinate your meat for 1–8 hours, depending on the cut and thickness. Always keep it refrigerated while marinating, and avoid reusing the marinade unless you cook it separately.
This simple step can make a dramatic difference. The result? Chicken that’s bursting with flavor and moisture.
Pounding the Chicken for Even Cooking
Uneven chicken pieces can lead to inconsistent cooking—some parts overcooked, others underdone. Pounding the chicken to an even thickness solves this issue. It ensures your chicken cooks evenly, so every bite remains juicy.
To pound chicken, place the meat between two sheets of plastic wrap or parchment paper. Use a meat mallet or rolling pin to gently flatten the thickest parts. Not only does this step help with moisture retention, but it also speeds up the cooking process.
The Best Baking Methods for Juicy Chicken
Low and Slow vs. High Heat: Which is Better?
The debate over baking temperatures boils down to the texture you’re after. Baking chicken at a lower temperature, such as 325°F, allows the meat to cook slowly, retaining its natural moisture. On the flip side, a high-temperature approach—around 450°F—sears the outside, creating a crust that locks in juiciness.
For the best of both worlds, consider a two-step method: start by baking at a high temperature for 10 minutes, then reduce the heat to 350°F to finish cooking. This technique keeps the chicken moist inside while giving it a slightly crisp exterior.
The Role of Covering Chicken While Baking
Using foil or parchment paper is a foolproof way to trap steam and moisture during baking. By covering the chicken, you essentially create a mini steam environment that prevents it from drying out.
For optimal results, lightly brush the chicken with olive oil or melted butter before covering it. This not only adds flavor but also enhances the moisture-sealing effect. Remember to remove the foil during the last 10 minutes of baking if you want a golden, slightly crisp surface.
Using a Meat Thermometer for Perfect Results
When it comes to preventing overcooked chicken, a meat thermometer is your best friend. Chicken should reach an internal temperature of 165°F. Check the thickest part of the meat, avoiding the bone, to ensure accurate readings.
By cooking to the right temperature, you’ll avoid the common mistake of drying out your chicken while guaranteeing it’s safely cooked.
Pro Tip: Learn more about enhancing baked chicken with coatings like parmesan cheese on this related article.
With these techniques, you’ll never have to wonder how to keep chicken moist while baking again.
Flavorful Additions to Enhance Moisture and Taste
Basting: A Simple Way to Lock in Juiciness
Basting is an underrated yet incredibly effective technique for keeping chicken moist while baking. By regularly brushing the chicken with its own juices or a flavorful mixture, you create a protective layer that seals in moisture and enhances taste.
Start by combining melted butter, olive oil, or chicken stock with herbs and spices. Use a pastry brush or spoon to coat the chicken every 15–20 minutes while it bakes. This process not only keeps the meat juicy but also allows the flavors to penetrate deeper into the chicken.
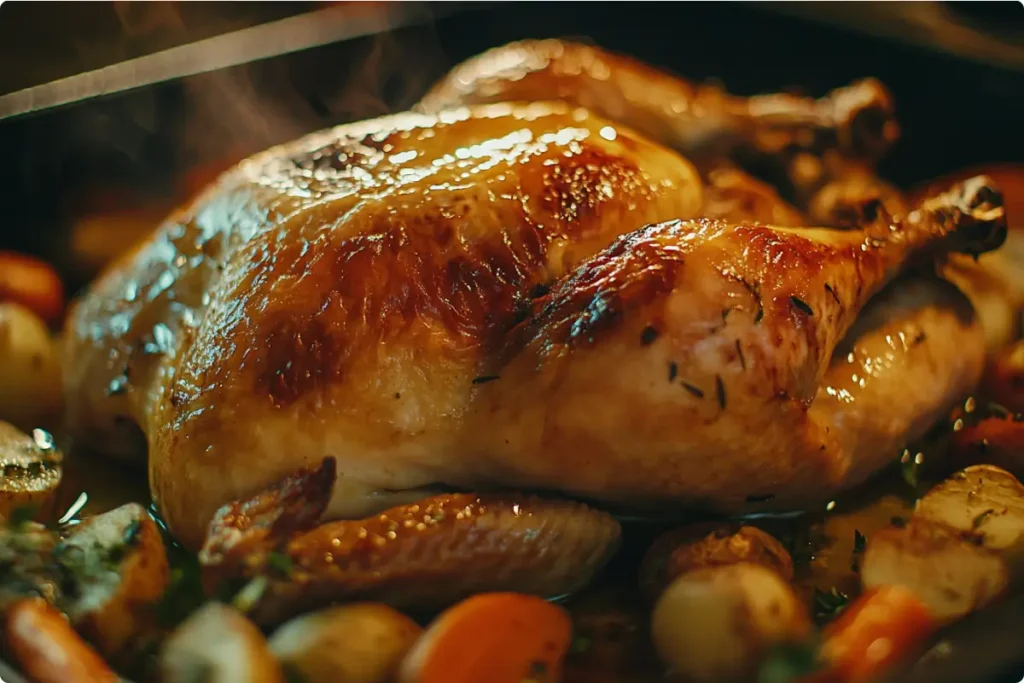
Pro tip: If you’re roasting a whole chicken, spoon the juices from the bottom of the pan over the bird for a rich, golden glaze. For extra flavor, add lemon slices, garlic, or rosemary to the basting liquid.
Adding a Crust or Coating
Want to take your baked chicken to the next level? Adding a crust or coating not only boosts flavor but also acts as a barrier, preventing moisture loss. A simple breadcrumb and parmesan cheese mix is perfect for chicken breasts or tenders.
To create a crispy coating, dip the chicken in a mixture of beaten eggs and milk before rolling it in breadcrumbs. Bake at a higher temperature (around 400°F) for the last 10 minutes to achieve a golden, crunchy finish. This method ensures that your chicken stays moist on the inside while crispy on the outside.
For more tips on breaded chicken recipes, check out our baked chicken tenders guide.
Tips for Resting and Serving the Chicken
Why Resting is Crucial
One of the simplest yet most overlooked steps to ensure juicy baked chicken is letting it rest. When chicken comes out of the oven, its juices are still concentrated near the surface. Resting allows those juices to redistribute throughout the meat, ensuring every bite is moist and flavorful.
Cover the chicken loosely with foil and let it rest for 5–10 minutes before slicing. Skipping this step could result in the juices running out onto the cutting board, leaving you with dry chicken.
Slicing Techniques to Retain Juiciness
How you slice your chicken also matters. Always cut against the grain, which means slicing perpendicular to the muscle fibers. This technique shortens the fibers, making the chicken easier to chew and helping it retain its natural moisture.
If you’re serving chicken breasts, slice them thinly to maximize surface area and distribute flavor evenly. For whole chickens, carve the bird carefully, removing the legs, wings, and breast meat before slicing into smaller portions.
Final Thought: Resting and slicing might seem like minor details, but they’re the finishing touches that elevate your baked chicken from good to unforgettable.
FAQs: People Also Ask
What is the best temperature to bake chicken for moisture?
The ideal temperature for baking chicken depends on the cut and your desired results. For keeping chicken moist, baking at a lower temperature, such as 350°F, works best for even cooking without drying out the meat. For crispier results, start at 450°F for a short time, then lower the temperature to finish cooking. Always ensure the internal temperature reaches 165°F for safety.
How long should I brine chicken before baking?
Brining times vary based on the cut of chicken. Thin cuts, like boneless breasts, require only 30 minutes to 2 hours. Larger cuts, such as whole chickens, benefit from overnight brining. The saltwater solution infuses moisture and seasoning, making your chicken incredibly juicy.
Can I use foil to keep chicken moist while baking?
Absolutely! Covering chicken with foil while baking traps steam, creating a mini oven within the oven. This method locks in moisture, especially useful for lean cuts like breasts. Remove the foil during the last 10 minutes to crisp up the surface if desired.
Is olive oil or butter better for basting chicken?
Both work well! Olive oil adds a light, fresh flavor, while butter enriches the chicken with a creamy, golden finish. The best choice depends on your taste preferences and the recipe.
Common Mistakes to Avoid When Baking Chicken
Overcooking the Chicken
One of the biggest mistakes when baking chicken is overcooking it. Many people keep it in the oven “just to be sure,” but this approach leads to dry, rubbery meat. Instead, use a meat thermometer to pull the chicken out as soon as it reaches 165°F. Resting the chicken afterward ensures it continues cooking slightly while retaining moisture.
Skipping Key Preparation Steps
Failing to brine, marinate, or pound your chicken is another common misstep. These preparation steps are vital for ensuring the chicken stays moist and flavorful throughout baking. Even a quick marinade or brine can make a world of difference.
Not Using a Meat Thermometer
Guessing whether your chicken is done is risky. A meat thermometer is a foolproof way to ensure the chicken is perfectly cooked. Checking the internal temperature at the thickest part helps avoid overcooking or undercooking, leaving you with consistently moist results.
By avoiding these pitfalls and sticking to proven techniques, you’ll never have to wonder how to keep chicken moist while baking again.
Common Mistakes to Avoid When Baking Chicken
Overcooking the Chicken
Overcooking is one of the main reasons chicken turns dry in the oven. Many home cooks leave chicken in the oven longer than needed, fearing it might be undercooked. Unfortunately, this approach often leads to a loss of moisture, resulting in rubbery, stringy meat.
The solution? Invest in a meat thermometer. It’s the easiest way to determine doneness without guesswork. Chicken is safely cooked when the internal temperature reaches 165°F. By taking it out at the right moment, you’ll preserve the chicken’s natural juiciness.
Skipping Key Preparation Steps
Skipping essential preparation steps, like brining or marinating, is a common oversight. These steps are crucial to ensuring the chicken stays moist and tender. Even a simple brine can make a noticeable difference by locking in extra moisture before the baking process begins.
Similarly, pounding chicken breasts to an even thickness not only ensures consistent cooking but also prevents the thinner parts from drying out. Taking these extra steps in the prep phase guarantees a more delicious result.
Not Allowing the Chicken to Rest
Another frequent mistake is slicing the chicken immediately after it comes out of the oven. When this happens, the juices quickly run out, leaving the meat dry. Letting the chicken rest for at least 5–10 minutes allows those juices to redistribute, keeping every bite flavorful.
Conclusion: Mastering the Art of Juicy Baked Chicken
Perfectly baked chicken doesn’t have to be a challenge. By using a combination of preparation techniques, such as brining and marinating, and adopting the right cooking methods, you can ensure your chicken stays moist every time.
The key lies in understanding how to keep chicken moist while baking. Start with proper preparation to lock in moisture, choose the right baking temperature to retain it, and always let the chicken rest before serving. Don’t forget to use tools like a meat thermometer to guarantee precision and consistency.
Whether you’re baking chicken breasts, thighs, or a whole bird, following these steps will transform your meals from ordinary to extraordinary. Experiment with flavorful coatings, basting techniques, and serving methods to find your perfect recipe.
Remember, baking chicken is more than just a cooking process—it’s an opportunity to create a meal that’s as juicy as it is delicious. With these tips, you’ll never have to worry about dry chicken again.
For more inspiration, don’t miss our guide to baked chicken tenders, packed with additional tips and tricks to elevate your poultry game.