Easy Fluffy Pancakes from Scratch
- Make the Best Easy Fluffy Pancakes From Scratch
- The Secret Chemistry Behind These Easy Homemade Pancakes Fluffy
- Essential Elements for Easy Fluffy Pancakes From Scratch
- Essential Tools for Success in Your Kitchen
- Step By Step Guide to the Perfect Stack
- Troubleshooting Texture and Heat Issues
- Scaling for Large Groups or Solo Mornings
- Debunking Common Griddle Misconceptions
- Storage Guidelines and Reducing Food Waste
- Pairing Ideas and Creative Toppings
- High in Sodium
- Recipe FAQs
- 📝 Recipe Card
Make the Best Easy Fluffy Pancakes From Scratch
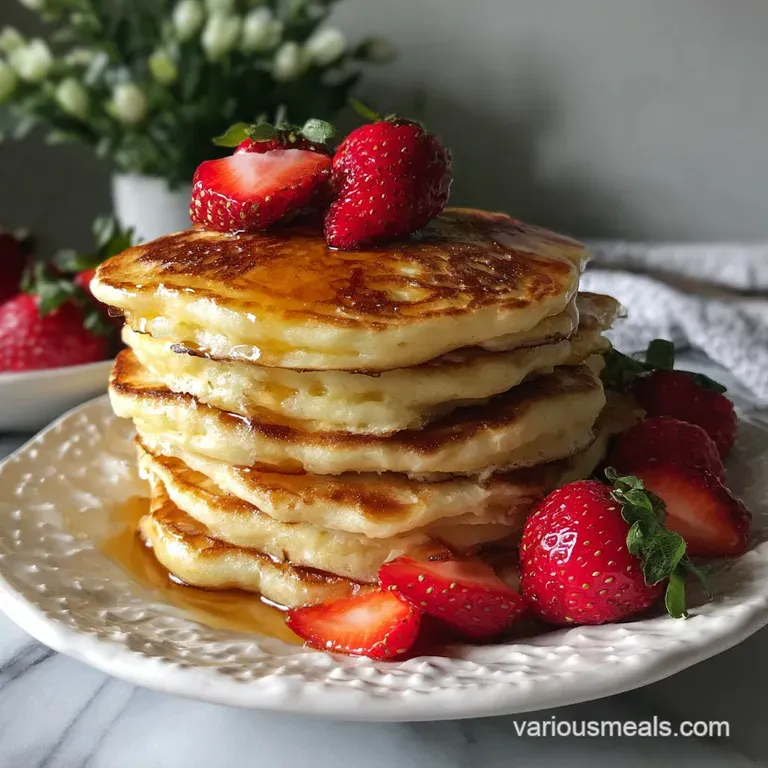
Imagine waking up to the smell of toasted vanilla and the gentle sizzle of butter hitting a warm cast iron skillet. We've all been there, staring at a box of mix because the idea of measuring flour feels like too much work before coffee.
But honestly, once you realize that the secret to those cloud like, velvety stacks isn't a secret at all, you'll never go back to the yellow box.
Most people struggle with pancakes that turn out flat, rubbery, or heaven forbid raw in the middle. I've burnt more than my fair share of "first pancakes" trying to find the sweet spot.
This recipe is the result of those failed Sunday mornings, designed to give you that shatter crisp edge and a center that feels like a warm hug. It's about getting the chemistry of the pantry staples right so you get maximum lift without the fuss of buttermilk.
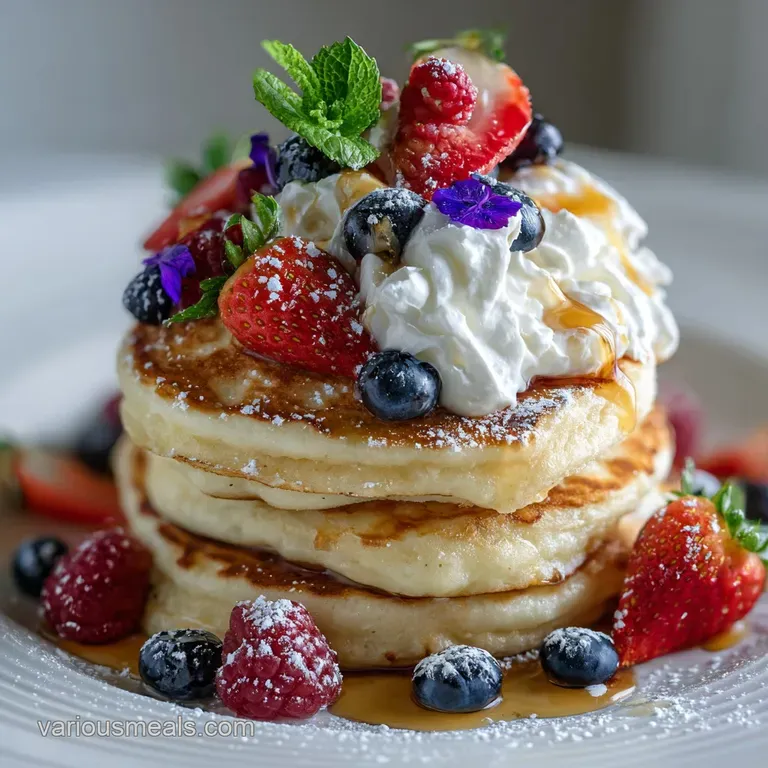
We are going for a texture that is substantial enough to hold a lake of maple syrup but light enough that you want a second (or third) helping. Whether you're making an easy pancake recipe for kids on a rainy Tuesday or hosting a brunch where you want to show off a bit, this is the blueprint.
Let's get into the nitty gritty of why this works so you can stop guessing and start flipping.
The Secret Chemistry Behind These Easy Homemade Pancakes Fluffy
Understanding the "why" is what turns a cook into a chef, and with pancakes, it's all about the bubbles. We aren't just mixing things in a bowl; we are creating a structural web that traps air.
If you treat the batter like a workout and whisk it until it's perfectly smooth, you’ll end up with a hockey puck instead of a pillow.
Chemical Leavening: The massive 3.5 teaspoons of baking powder create a double reaction once when touching the milk and again when hitting the hot pan. This rapid gas release is what pushes the batter upward, creating those signature tiny holes in the crumb.
Gluten Management: By barely combining the wet and dry ingredients, we keep gluten proteins short and weak. This ensures the final result is tender and velvety rather than chewy and bread like.
| Method | Time | Texture | Best For |
|---|---|---|---|
| Stovetop Griddle | 10 minutes | Crispy edges, golden exterior | Classic diner style results |
| Oven Baked (Sheet Pan) | 15 minutes | Uniformly soft, cake like | Serving a large crowd at once |
| Electric Skillet | 10 minutes | Even browning, no hot spots | Precise temperature control |
It is worth noting that while the stovetop gives you those beautiful concentric rings of browning, the oven method is a lifesaver for big families. However, for that authentic "from scratch" experience, the pan sizzle is hard to beat.
| Component | Science Role | Pro Secret |
|---|---|---|
| Baking Powder | Primary Lift | Check your expiration date; old powder means flat cakes. |
| Whole Milk | Fat & Hydration | The fat content prevents the gluten from getting too "stretchy." |
| Melted Butter | Tenderness | It coats the flour particles, creating a "shatter" effect on the edges. |
Essential Elements for Easy Fluffy Pancakes From Scratch
To get this right, you need to be precise with your pantry. We aren't just tossing things in a bowl; we’re building a foundation. Make sure your egg and milk aren't ice cold, or they’ll seize up that melted butter into little clumps.
- 1.5 cups (190g) All purpose flour: Why this? Provides the perfect protein balance for structure without becoming tough.
- Substitute: 1:1 gluten-free flour blend (Note: Result will be slightly denser).
- 3.5 tsp Baking powder: Why this? This high amount is the engine of the "fluff."
- Substitute: 1 tsp baking soda + 2 tsp cream of tartar.
- 1 tbsp White granulated sugar: Why this? Aids in the Maillard reaction for golden brown color.
- Substitute: Honey or maple syrup (add to wet ingredients).
- 1 tsp Fine sea salt: Why this? Sharpens the sweetness and vanilla notes.
- Substitute: Kosher salt (use 1.5 tsp).
- 1.25 cups (300ml) Whole milk: Why this? Provides the liquid base and richness.
- Substitute: Oat milk (Same consistency, slightly nuttier finish).
- 1 Large egg: Why this? Acts as the "glue" and adds richness to the crumb.
- Substitute: 1/4 cup unsweetened applesauce (Note: Pancakes will be softer).
- 3 tbsp (42g) Unsalted butter, melted and cooled: Why this? Fat equals flavor and a tender mouthfeel.
- Substitute: Neutral oil like avocado or grapeseed.
- 1 tsp Pure vanilla extract: Why this? Provides that nostalgic, bakery style aroma.
- Substitute: Almond extract (use 1/4 tsp for a bold twist).
Essential Tools for Success in Your Kitchen
You don't need fancy gadgets, but the right pan changes everything. A heavy bottomed skillet ideally cast iron or a thick non stick distributes heat evenly. If your pan is too thin, you’ll get burnt spots before the middle is even close to being done.
A wide, flat spatula is your best friend here. You want something thin enough to slide under the delicate batter without squishing it. I also highly recommend using a wire whisk for the dry ingredients to break up clumps, then switching to a silicone spatula for the final "fold" to prevent over mixing.
Dry Components
Start by whisking your flour, baking powder, sugar, and salt in a large bowl. This isn't just about mixing; it’s about aerating the flour. If you skip this, you might end up with a pocket of salt or a clump of baking powder that tastes bitter.
Wet Components
In a separate jug, whisk the milk, egg, vanilla, and that cooled butter. It’s vital the butter isn't hot, or you’ll scramble the egg right there in the cup. This is where the magic starts you’ll smell the vanilla blooming in the milk.
step-by-step Guide to the Perfect Stack
1. Integrating the Base
Create a well in the center of your dry ingredients and pour in the wet mixture. Use a spatula to fold the two together. Stop the very second the streaks of flour disappear. Lumps are your friends! Those little pockets of flour will hydrate as the batter rests and help create those airy gaps.
2. Calibrating the Heat
Heat your skillet over medium low. You'll know it's ready when a drop of water flicked onto the surface dances and evaporates instantly. Add a tiny bit of butter or oil and wipe most of it away with a paper towel. You want a thin film, not a deep fry.
3. Executing the Perfect Flip
Pour about 1/4 cup of batter for each pancake. Wait until you see bubbles form on the surface and the edges look set and matte. This usually takes 2 to 3 minutes. Slide the spatula under and flip in one confident motion.
Do not I repeat, do not press down on the pancake with your spatula. You'll squeeze out all the air you just worked so hard to create.
Chef's Tip: Let your batter rest for 5 minutes before you start cooking. This allows the flour to fully hydrate and the gluten to relax, resulting in a much softer bite.
Troubleshooting Texture and Heat Issues
Pancakes are a conversation between the batter and the pan. If things aren't going right, it's usually a temperature or a timing issue. Don't worry if the first one looks like a disaster it's practically a culinary law that the first pancake is the "sacrificial" one used to calibrate the stove.
Fixing Raw Centers and Burnt Surfaces
If your pancakes are dark brown on the outside but gooey in the middle, your heat is too high. The sugar is caramelizing (and burning) before the heat can penetrate the center. Lower the flame and give the pan a minute to cool down. You want a slow, steady "golden brown" transformation.
Preventing Rubbery Textures
If your pancakes have the consistency of a tire, you've over mixed the batter. When you stir flour and liquid, gluten forms. The more you stir, the stronger those gluten bonds become. For fluffiness, we want those bonds to stay as weak as possible.
| Problem | Root Cause | Solution |
|---|---|---|
| Flat Pancakes | Expired baking powder | Replace your leavening agent. |
| Tough/Chewy | Over mixing the batter | Stir until "just" combined; leave the lumps. |
| Uneven Browning | Pan too dry or heat too high | Use a thin film of oil and lower the temperature. |
Common Mistakes Checklist: ✓ Ensure the skillet is preheated for at least 3 full minutes before the first drop of batter. ✓ Use a measuring cup for consistent sizing so they all cook at the same rate.
✓ Avoid flipping more than once; it toughens the structure and lets heat escape. ✓ Don't overcrowd the pan - leave at least 2 inches between pancakes. ✓ Use a neutral oil or clarified butter to avoid the "burnt butter" taste on later batches.
Scaling for Large Groups or Solo Mornings
If you're cooking for one, you can easily halve this recipe. Since it calls for one egg, just whisk the egg in a small bowl first and use about 2 tablespoons of it. For the milk, 1.25 cups halved is about 10 tablespoons (or 1/2 cup plus 2 tablespoons).
Scaling up is where things get fun. If you're doubling the recipe to feed a crowd, be careful with the salt and baking powder. I usually suggest using 1.5x the salt instead of 2x to avoid it being overly savory.
Also, keep the finished pancakes in a single layer on a wire rack in a 200°F oven to keep them crisp while you finish the rest of the batch.
Achieving a Japanese Fluffy Pancakes Recipe Style
If you want that ultra tall, souffle like Japanese style, you'll need to separate the egg white. Whisk the white with a pinch of sugar until stiff peaks form, then fold it into the finished batter at the very end. Use a ring mold on the griddle to help them hold that incredible height.
Debunking Common Griddle Misconceptions
One major myth is that you need buttermilk for "real" fluffy pancakes. While buttermilk adds a nice tang, the high volume of baking powder in this recipe provides all the lift you need with standard whole milk. You aren't losing out on height just because you didn't run to the store.
Another misconception is that the batter should be thin. Actually, a thick batter stays where you pour it, allowing it to grow "up" instead of "out." If your batter is running all over the pan like a crepe, you might have measured your milk too generously.
Storage Guidelines and Reducing Food Waste
If you have leftovers, you’re in luck pancakes actually freeze beautifully. Let them cool completely on a wire rack first. If you stack them while warm, they'll steam and become soggy.
Storage: Keep in an airtight container in the fridge for up to 3 days. For the freezer, place parchment paper between each pancake so they don't turn into a giant frozen brick. They’ll stay fresh for up to 2 months.
Zero Waste Tip: Don't throw away that last bit of batter! If you don't have enough for a full pancake, make "pancake bites" or "pancake cereal" by dropping tiny dots of batter into the pan. Also, if you have overripe fruit, mash it directly into the remaining batter for a quick flavor boost.
Pairing Ideas and Creative Toppings
While maple syrup is the gold standard, don't be afraid to get creative. A dollop of Greek yogurt with a drizzle of honey and some toasted walnuts adds a sophisticated crunch. If you're feeling indulgent, a smear of salted butter and a sprinkle of cinnamon sugar creates a "churro" vibe that is absolutely dangerous.
Designing an Easy Pancake Recipe for Kids
To make this a hit with the little ones, try "pancake art." Put the batter in a squeeze bottle and draw shapes hearts, stars, or even initials into the pan. Let the shape cook for 30 seconds before filling in the rest of the circle. The "drawn" part will be darker, creating a cool design they'll love.
dairy-free Swap
You can easily make these dairy-free by using almond or soy milk and replacing the butter with melted coconut oil. The coconut oil adds a very subtle tropical aroma that pairs exceptionally well with sliced bananas or crushed pineapple.
Precision Checkpoints for Your Kitchen
- Temperature: Aim for a surface temperature of 375°F on an electric griddle.
- Rest Time: Give the batter exactly 5 minutes to sit before the first pour.
- Thickness: Your batter should be thick enough to hold its shape on a spoon for 2 seconds before falling.
If you want X, do Y: If you want extra crispy edges, use slightly more butter in the pan and turn the heat up just a hair. If you want tangy flavor, add a teaspoon of lemon juice to the milk and let it sit for a minute before mixing.
If you want berry filled bites, drop the berries onto the wet batter after pouring it into the pan so they don't bleed into the whole batch.

High in Sodium
1059 mg mg of sodium per serving (46% of daily value)
The American Heart Association recommends limiting sodium intake to no more than 2,300mg per day.
Tips to Reduce Sodium in Your Pancakes
-
Reduce Salt-25%
Eliminate or drastically reduce the 1 tsp of fine sea salt. Start by halving the amount and adjust to taste. Pancakes can be delicious with less salt!
-
Baking Powder Choice-15%
Some baking powders contain sodium. Choose a low-sodium or sodium free baking powder. Check the label to compare sodium content and select the lowest option.
-
Milk Matters-5%
While whole milk isn't a major sodium contributor, using a lower sodium milk alternative like unsweetened almond milk could slightly reduce the overall sodium content. Check nutrition labels.
-
Flavor Boost
Enhance the flavor of your pancakes with sodium free herbs and spices like cinnamon, nutmeg, or cardamom. These can provide a delicious alternative to salt.
Recipe FAQs
How to make simple fluffy pancakes?
Combine dry ingredients, then whisk in wet ingredients until just combined. Do not overmix; lumps are good. Let batter rest for 5 minutes, then cook on medium low heat until bubbles appear and edges are set before flipping. This method maximizes lift and tenderness.
What is the secret to the fluffiest pancakes?
Use plenty of baking powder and avoid overmixing the batter. The high quantity of baking powder provides a double leavening reaction, while minimal mixing keeps gluten development low for a tender, airy texture.
How to make 3 ingredient fluffy pancakes?
Combine 1 cup flour, 1 cup milk, and 1 egg, whisking until just combined. For added fluff, a leavening agent like baking powder is crucial. This base will yield acceptable pancakes, but for superior fluff, adding baking powder (around 3.5 tsp per 1.5 cups flour) is highly recommended.
What are the 4 ingredient pancakes?
Typically, these are made with 1 cup flour, 1 cup milk, 1 egg, and 1 tablespoon of sugar. While these four ingredients create a basic pancake, achieving true fluffiness often requires additional leavening from baking powder.
Can I use baking soda instead of baking powder for fluffy pancakes?
No, it's best to use baking powder for maximum fluff. Baking soda needs an acid to activate, and while milk has slight acidity, baking powder contains both an alkali and an acid, providing a stronger, more reliable lift for fluffier pancakes.
Why are my homemade pancakes flat?
Flat pancakes usually result from expired baking powder or overmixing the batter. Ensure your baking powder is fresh, and stir the batter only until the dry streaks disappear, leaving small lumps.
How to get golden brown, evenly cooked pancakes?
Cook on medium low heat with a thin film of oil or butter on the griddle. Too high heat burns the outside before the inside cooks, while too low heat results in pale, unevenly cooked pancakes. Wait for bubbles to form and edges to look set before flipping.
Easy Fluffy Pancakes
Ingredients:
Instructions:
Nutrition Facts:
| Calories | 330 kcal |
|---|---|
| Protein | 8.9g |
| Fat | 12.7g |
| Carbs | 43g |
| Fiber | 1.3g |
| Sugar | 6.8g |
| Sodium | 1059mg |
