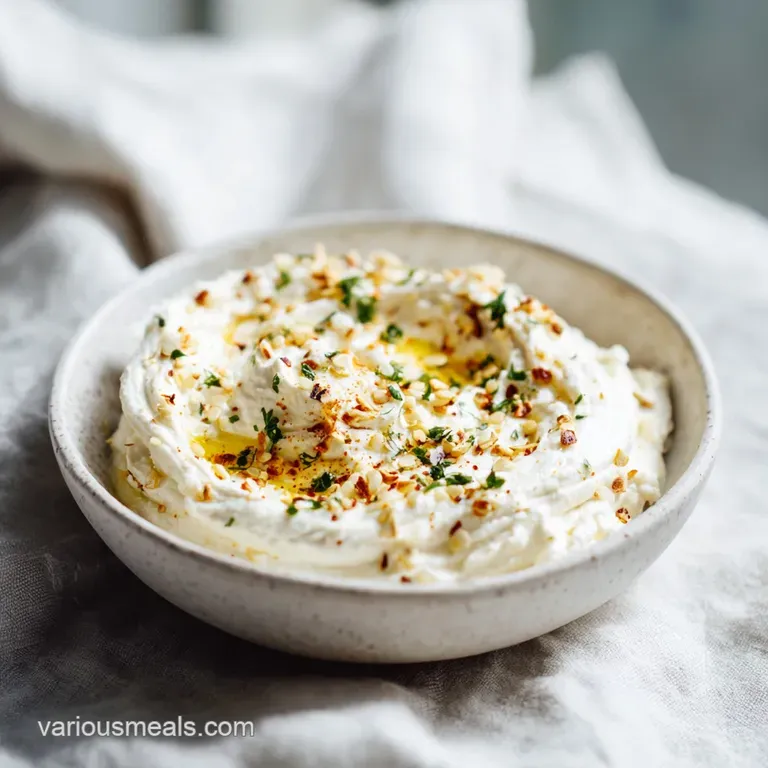
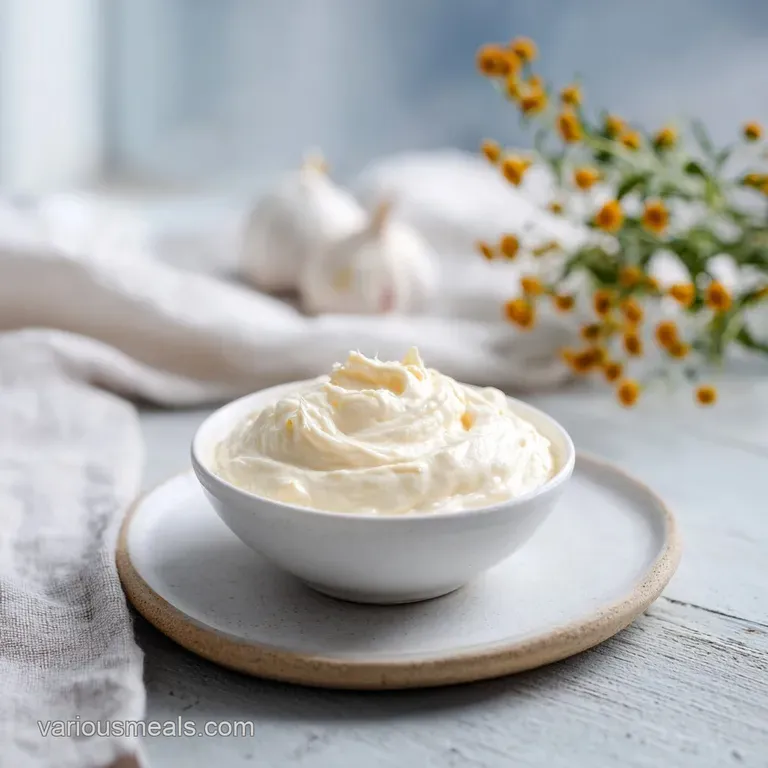
Roasted Garlic Aioli: Silky and Mellow
- Time: Active 5 mins, Passive 45 mins, Total 50 mins
- Flavor/Texture Hook: Silky, savory, and deeply mellow with a rich, buttery finish.
- Perfect for: Hosting dinner parties, elevating weeknight burgers, or creating a memorable dipping sauce.
- The Art of Crafting the Best Roasted Garlic Aioli
- The Chemistry of Creamy Emulsions and Caramelized Garlic
- Ingredient Deep Dive and Quality Components
- Equipment Needed for Effortless Prep
- Step-by-Step Instructions for Your Aioli
- Common Mistakes & Troubleshooting
- Make It Your Own
- Preservation Secrets
- Pairing Ideas
- Debunking Culinary Myths
- Recipe FAQs
- 📝 Recipe Card
The Art of Crafting the Best Roasted Garlic Aioli
I remember the first time I tried roasting garlic in my tiny oven. The smell hit me almost immediately a sweet, nutty aroma that filled the entire apartment, signaling that something special was happening.
I used to think aioli was this intimidating, high end restaurant staple that required an army of kitchen gadgets and nerves of steel to emulsify. It turns out, it's actually one of the most forgiving, rewarding things you can whip up on a Tuesday evening.
When you roast the garlic, the chemistry changes completely. It moves from that sharp bite to a spreadable, golden paste that blends seamlessly into mayonnaise. This roasted garlic aioli recipe is my go to when I want a side dish or sandwich spread that feels fancy but takes very little actual effort.
It’s all about the transformation of that one humble bulb.
Trust me, once you have a jar of this sitting in your fridge, you’ll start putting it on everything. It’s got a luxurious, thick consistency that store-bought jars just can't match, and the flavor is so much deeper than just adding powdered garlic to mayo.
Let's get into how we make this happen, step by simple step.
The Chemistry of Creamy Emulsions and Caramelized Garlic
Maillard Reaction: Roasting the garlic at a controlled temperature encourages amino acids and sugars to reorganize into complex, nutty flavor compounds that define the base of this sauce.
Emulsion Stability: By gradually incorporating the garlic paste into the mayonnaise, we create a stable suspension of fats and liquids that results in a smooth, thick, and luxurious mouthfeel.
| Thickness | Internal Temp | Rest Time | Visual Cue |
|---|---|---|---|
| 1 large head | 350°F (180°C) | 10 mins | Deep golden brown |
Ingredient Deep Dive and Quality Components
We are keeping this simple, but quality matters here. Since the garlic is the star, don't skimp on the olive oil.
- Large head of garlic (approx. 50g): The soul of the dish.
- Why this? Roasting makes it sweet and buttery.
- Extra virgin olive oil (4.5g): Helps the roasting process.
- Why this? Adds a fruity note that rounds out the garlic.
- high-quality mayonnaise (170g): The silky canvas.
- Why this? A good brand ensures a stable texture.
- Fresh lemon juice (15g): The brightness.
- Why this? Cuts through the richness to keep it lively.
- Dijon mustard (3g): The secret emulsifier.
- Why this? Helps bond the garlic and mayo perfectly.
Equipment Needed for Effortless Prep
You don't need a professional kitchen, just the right basics to get that velvety finish.
- Small baking sheet or ramekin: To keep the garlic contained while roasting.
- Aluminum foil: Essential for creating a heat trapping packet.
- Small mixing bowl: For blending the final sauce.
- Fork: Your best tool for mashing the roasted garlic into a smooth paste.
step-by-step Instructions for Your Aioli
Phase 1: The Roast
Preheat your oven to 400°F (200°C). Slice the top off the garlic head to expose the cloves, drizzle with the 4.5g of oil, sprinkle with a pinch of flaky sea salt, and wrap it tightly in foil.
Bake for 45 minutes until the cloves are soft, golden, and fragrant.
Phase 2: The Mash
Let the garlic cool until you can handle it. Squeeze the soft, caramelized cloves out of their skins into your mixing bowl. Use your fork to crush them into a smooth, buttery paste until no large chunks remain.
Phase 3: The Integration
Add the 170g of mayonnaise, 15g of lemon juice, 0.5 teaspoon of Dijon mustard, 0.25 teaspoon of sea salt, and a pinch of black pepper to the bowl. Whisk everything together vigorously until the mixture is completely uniform and silky. If you want more inspiration, check out how this pairs with a Beef Mushroom Stir recipe for a rich side.
Common Mistakes & Troubleshooting
Why Your Aioli Split or Curdled
Sometimes, if the ingredients are at drastically different temperatures or you add the liquid too quickly, the emulsion can break. If it looks oily or grainy, don't toss it. Just add a tiny bit more mayo or a teaspoon of fresh lemon juice and whisk in a circular motion until it tightens back up.
| Problem | Root Cause | Solution |
|---|---|---|
| Broken/Oily sauce | Added liquids too fast | Whisk in a small spoonful of fresh mayo |
| Garlic flavor too mild | Under roasted garlic | Use an extra bulb next time |
| Grainy texture | Un mashed garlic chunks | Mash the garlic into a paste before adding mayo |
Common Mistakes Checklist
- ✓ Ensure your garlic is completely soft before mashing.
- ✓ Don't rush the cooling process; it makes the garlic harder to squeeze.
- ✓ Always use room temperature mayo for the best emulsion.
- ✓ Whisk in one direction consistently to keep the structure stable.
- ✓ Taste as you go you might want more salt depending on your brand of mayo.
Make It Your Own
If you love this base, you can easily swap things around. While this version is classic, I’ve found that adding a teaspoon of honey gives it a nice contrast, similar to the profile in a Mango Habanero Honey recipe. If you're looking for a change in texture, you can also thin it out with a teaspoon of water to make it a dressing for salads rather than a dip.
| Original Ingredient | Substitute | Why It Works |
|---|---|---|
| Dijon Mustard (0.5 tsp) | Whole Grain Mustard | Adds texture and a slightly pop of acidity |
| Lemon Juice (1 tbsp) | Apple Cider Vinegar | Adds a mellow, fruity tang instead of sharp citrus |
Preservation Secrets
Keep your aioli in an airtight jar in the fridge for up to 5 days. It will actually taste even better the next day as the garlic oils infuse fully into the mayonnaise. I don't recommend freezing this; the emulsion will shatter when it thaws, leaving you with a watery, separated mess.
Instead, make only what you plan to eat within the week. If you have extra garlic, roast two heads at once and keep the extra paste in the fridge for other recipes.
Pairing Ideas
This sauce is incredibly versatile. It’s legendary on a toasted sourdough sandwich or alongside Garlic Butter Shrimp recipe for dipping. I love using it as a base for potato salad or even as a simple dip for raw vegetables when I want something richer than hummus.
Debunking Culinary Myths
Many people think you need to whisk in oil drop by-drop to make an aioli from scratch. While that's true for traditional raw garlic emulsifications, we're using a mayonnaise base, which already has the emulsion established. You don't need the stress of a slow drizzle just stir it well and you're good.
Another myth is that searing the garlic is better; it isn't. High heat makes the garlic bitter. Low and slow roasting is the only way to get that deep, sweet profile.

Recipe FAQs
What is a roasted garlic aioli?
It is an emulsified sauce based on roasted garlic. Traditional aioli uses only garlic, olive oil, and salt, but modern versions typically use egg yolks for stability, similar to mayonnaise. Roasting the garlic mellows the harsh flavor into a sweet, deeply savory base.
What are the ingredients for classic garlic aioli?
Egg yolk, olive oil, lemon juice, and crushed raw garlic. The key is to slowly drizzle the oil into the yolk while whisking constantly to achieve a stable emulsion. If you enjoy controlling texture during blending, the emulsification principles here are similar to those used when perfecting the sauce for our Beef Bourguignon recipe.
What to eat roasted garlic aioli with?
Use it as a rich, savory dip or spread for almost anything. It is phenomenal on sandwiches, drizzled over roasted vegetables, or served alongside grilled steak or poultry. It’s an excellent upgrade for sides like fries or roasted potatoes.
What is in the roasted garlic aioli at Subway?
Subway's Roasted Garlic Aioli generally contains soybean oil, water, vinegar, and roasted garlic. It uses stabilizers and thickeners rather than traditional raw egg yolks, resulting in a lighter, mass produced flavor profile compared to homemade versions.
How to make roasted garlic soft enough to mix into aioli?
Cut the top off the garlic bulb, drizzle with oil, wrap in foil, and bake at 400°F (200°C) for 40 minutes. The low, slow heat caramelizes the sugars, turning the cloves into a soft, sweet paste perfect for blending.
Be sure to squeeze out the fully softened cloves once they are cool enough to handle.
Can I substitute mayonnaise for the egg yolk in roasted garlic aioli?
Yes, you can substitute pre-made mayonnaise for the egg yolk and oil step. This shortcut bypasses the tricky emulsification process entirely; simply whisk your roasted garlic paste directly into the mayonnaise. This method is faster and more reliable, much like simplifying steps when preparing a Zucchini Lasagna with recipe.
Is it true that aioli must contain raw egg yolk to be authentic?
No, this is a common misconception regarding modern usage. Historically, aioli was an emulsion of just garlic and oil, but authentic creamy texture today almost always relies on egg yolks for safe, stable emulsification. For a richer, slow cooked meat base that relies on tenderization, review the basting techniques in our Ground Beef Recipe.
Roasted Garlic Aioli Recipe

Ingredients:
Instructions:
Nutrition Facts:
| Calories | 145 kcal |
|---|---|
| Protein | 0.3g |
| Fat | 16g |
| Carbs | 1.5g |
| Fiber | 0.1g |
| Sugar | 0.2g |
| Sodium | 210mg |
