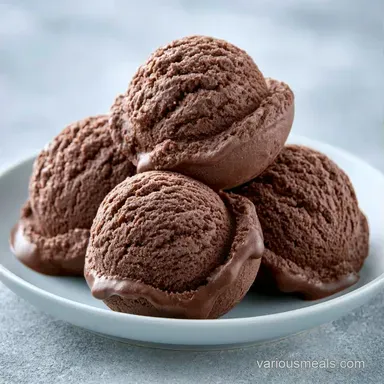
Chocolate Ice Cream with Coconut Milk
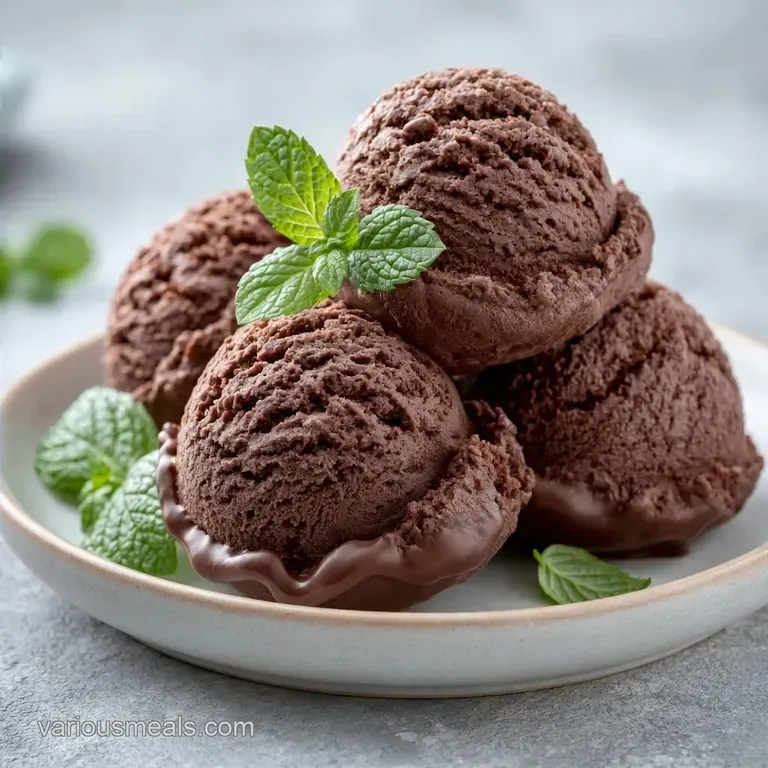
- Time: 15 min active + 6 hours 20 mins chilling/churning
- Flavor/Texture Hook: Rich, dark cocoa with a smooth, dense finish
- Perfect for: dairy-free desserts, meal prep, and health conscious treat seekers
Creamy Homemade Chocolate Ice Cream
Nothing beats the aroma of Dutch process cocoa as it hits the blender a rich, earthy scent that signals something indulgent is coming. I once believed that dairy-free frozen treats were destined to be icy or overly coconut flavored, but the issue was actually my ratios.
Using light coconut milk was my biggest error; it simply produced a chocolate flavored popsicle.
The secret lies in using the full fat version. By combining the correct proportions of coconut cream and cocoa, you create a base resembling melted fudge. That heavy, glossy texture is precisely what you need before it goes into the freezer.
This Chocolate Ice Cream avoids artificial gums and thickeners. Instead, it relies on natural fats to recreate the luxurious mouthfeel of heavy cream. It is an affordable method for creating a nutrient dense dessert that won't leave you feeling weighed down.
Texture and Creaminess Logic
- Saturated Fats: Full fat coconut milk contains fats that stay stable at low temperatures, which prevents the mix from feeling watery.
- Freezing Point: Maple syrup lowers the freezing point of the water in the coconut milk, which stops huge ice crystals from forming.
| Method | Time | Texture | Best For |
|---|---|---|---|
| Cold Blend | 15 mins | Smooth & Clean | Quick prep, pure cocoa taste |
| Stovetop (Heated) | 30 mins | Richer & Deep | Blooming cocoa for intensity |
Essential Shopping List
| Ingredient | What It Does | Best Swap |
|---|---|---|
| Full fat Coconut Milk | Provides the creamy structure | Cashew cream (thicker, less coconut flavor) |
| Coconut Cream | Adds density and richness | Heavy cream (if not dairy-free) |
| Dutch process Cocoa | Gives the deep chocolate flavor | Carob powder (for caffeine free) |
| Maple Syrup | Sweetens and prevents icing | Agave nectar (neutral taste) |
- 2 cans (27 oz) full fat coconut milk Why this? High fat content is non negotiable for creaminess.
- 1 can (13.5 oz) full fat coconut cream Why this? Adds the necessary thickness for a scoopable result.
- 1/2 cup (45g) unsweetened Dutch process cocoa powder Why this? Lower acidity means a smoother chocolate taste.
- 1 tsp (5 ml) pure vanilla extract
- 1/4 tsp (1.5g) fine sea salt
- 3/4 cup (180 ml) pure maple syrup Why this? Natural liquid sweetener that blends better than granulated sugar.
Tools You'll Need
Anyone can make this at home. A high speed blender is the most critical piece of equipment here, as it emulsifies the fats and breaks down the cocoa powder. If you lack one, an immersion blender is a suitable alternative, though you'll have to blend longer to eliminate any clumps.
To achieve a silky, professional finish, use a fine mesh strainer. While an ice cream maker is the traditional choice, this recipe can easily be adapted for a Ninja Creami if you have one.
Making the Ice Cream
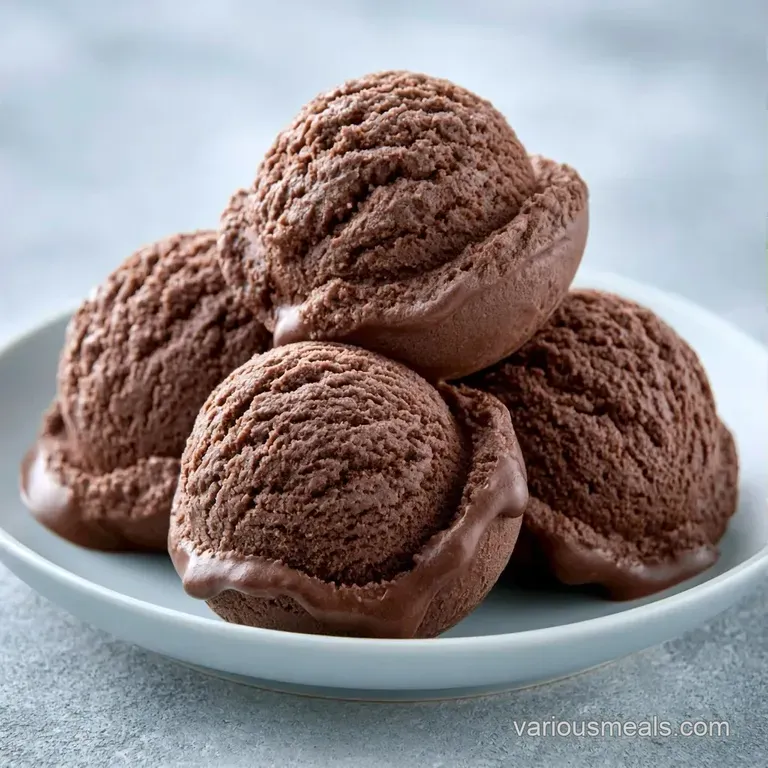
- Pour the coconut milk, coconut cream, maple syrup, cocoa powder, vanilla, and salt into your blender.
- Blend on high for 60 90 seconds until the liquid is glossy and dark brown. Note: Make sure there are no dry cocoa clumps on the sides.
- Pour the mixture through a fine mesh strainer into a bowl. Note: This removes any tiny undissolved cocoa bits.
- Cover the bowl tightly with plastic wrap or a lid.
- Refrigerate for 6 hours until the base reaches 40°F (4°C). Note: Chilling is the most important step to avoid ice crystals.
- Pour the chilled base into your ice cream maker.
- Churn for 20–25 minutes until it looks like soft serve.
- Transfer the Chocolate Ice Cream to a freezer safe container.
- Freeze for 2 hours until firm enough to scoop.
Fixing Common Issues
Fixing Icy Texture
If your scoop feels like a snow cone, it's usually because the base wasn't cold enough before churning. Next time, let it chill overnight. To fix a current batch, let it soften on the counter for 10 minutes, stir in a tablespoon of melted coconut oil, and re freeze.
Managing Coconut Taste
Some people find the coconut flavor too strong. Using Dutch process cocoa helps mask this because of its deeper flavor profile. You can also add a pinch more sea salt, which cuts through the coconut richness and highlights the chocolate.
Solving Hard Scoops
Dairy-free fats freeze harder than dairy fats. If the Chocolate Ice Cream is a brick, don't force the scoop. Set the container on the counter for 5 to 10 minutes. According to Serious Eats, adding a small amount of alcohol (like vodka) to the base can lower the freezing point and keep it softer.
Customizing Your Scoop
If you want to change the flavor profile, this base is very flexible. For a more intense experience, try making a Dark Chocolate Ice Cream by adding two extra tablespoons of cocoa and a bit more syrup.
For those using a different machine, a Chocolate Creami Ice Cream version works by freezing the base in the pint for 24 hours and using the "Lite Ice Cream" setting.
You can also make "Free Chocolate Ice Cream" for a party by adding mix ins. Stir in toasted almonds or sea salt flakes after the churning process is done but before the final freeze. This Free Chocolate Ice Cream variation is great for crowds because the add ins provide a nice contrast to the smooth base.
| Goal | What to change |
|---|---|
| More Intense Cocoa | Add 15g extra cocoa + 1 tbsp syrup |
| Softer Scoop | Add 1 tbsp vodka to the blender |
| Less Sweet | Reduce maple syrup to 1/2 cup |
Storing and Saving
Place your chocolate ice cream in a sealed container and store it at the back of the freezer, far from the door. This helps avoid the temperature fluctuations that cause ice crystals to form. It remains fresh for roughly 2 weeks.
To reduce waste, freeze any leftover canned coconut milk in ice cube trays. You can then add these cubes to your morning smoothies or use them to thicken a vegan curry later in the week.
Best Ways to Serve
This treat is rich, so it pairs well with something tart. Fresh raspberries or a slice of orange on the side cut through the coconut fat beautifully.
If you're feeling fancy, serve it in a chilled bowl to keep it from melting too fast. Since it's a plant forward dessert, it also goes great with a drizzle of almond butter or a sprinkle of hemp seeds for a bit of extra protein.
Debunking Freezer Myths
One common myth is that you need eggs or cornstarch to get a creamy texture in dairy-free treats. In reality, the saturated fats in coconut cream do all the work. They provide the structure that eggs usually offer in traditional custards.
Another misconception is that all dairy-free options are inherently icy. The icing only happens when there isn't enough fat or sugar to interrupt the water crystals. By using full fat coconut milk and maple syrup, you solve this problem completely.
Recipe FAQs
How to make chocolate ice cream at home?
Blend coconut milk, coconut cream, maple syrup, cocoa powder, vanilla, and salt until glossy. Chill the mixture for 6 hours before churning in an ice cream maker.
Where should I store the finished batch?
Keep it in an airtight container at the back of the freezer. This prevents temperature swings that cause ice crystals to grow.
Does cocoa powder always leave a grainy texture?
No, this is a common misconception. Blending on high for 60 90 seconds creates a smooth, professional consistency.
Is it true that you can churn the base immediately after blending?
Not true. The mixture must be refrigerated for at least 6 hours until it reaches 40°F to ensure a proper set.
Can I make a high protein variation of this treat?
Yes, similar to our banana protein recipe, you can use nutrient dense bases for a healthier version.
dairy free Chocolate Ice Cream