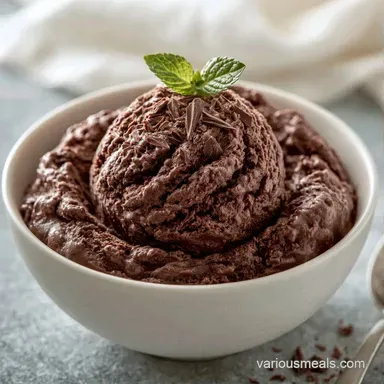
Creamy Dark Chocolate Ninja Creami Ice Cream
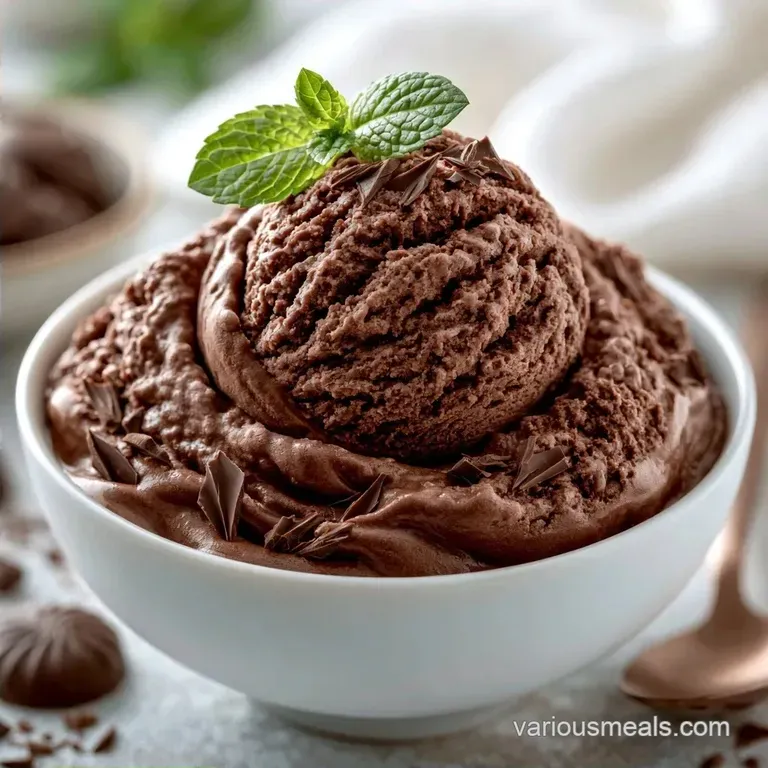
- Time: 20 min active + 24 hr chilling
- Flavor/Texture Hook: Dense, fudgy, and deeply chocolatey
- Perfect for: Intense chocolate cravings or a luxurious dinner party dessert
The smell of cocoa powder hitting hot milk is one of my favorite things in the kitchen. It fills the room with this warm, earthy scent that immediately makes you feel cozy. I remember trying a few different ways to get a truly deep chocolate flavor, but the results were often too icy or just plain sweet.
I wanted something that tasted like those dense, expensive gelatos you find in a tiny shop in Italy. The trick was realizing that cocoa powder alone isn't enough; you need actual chopped chocolate melted into the base to get that heavy, fudgy mouthfeel.
This Dark Chocolate Ice Cream delivers exactly that. It is rich, slightly bitter, and has a glossy finish that feels high end but only takes about 20 minutes of actual work.
Dark Chocolate Ice Cream Recipe
Sugar Balance: Sugar doesn't just add sweetness, it lowers the freezing point. This stops the mixture from freezing into a solid brick, keeping it scoopable.
Cocoa Blooming: Heating the cocoa powder in hot milk releases the flavor trapped in the solids. It removes the raw, powdery taste and creates a deeper profile.
Fat Integration: Using both whole milk and heavy cream provides a stable emulsion. This creates a dense structure that resists ice crystals.
| Method | Time | Texture | Best For |
|---|---|---|---|
| Ninja Creami | 24 hrs | Dense/Fudgy | Individual portions |
| Traditional Churn | 4-6 hrs | Airy/Light | Large parties |
| No Churn | 8 hrs | Soft/Sweet | No equipment kitchens |
Right then, let's look at what we're actually putting into the pint.
How This Texture Works
| Ingredient | Role | If You Don't Have It |
|---|---|---|
| Whole Milk | Liquid base | Full fat oat milk (adds nuttiness) |
| Heavy Cream | Fat for creaminess | Mascarpone (makes it denser) |
| Cocoa Powder | Primary flavor | Melted baking chocolate (increase fat) |
| Dark Chocolate | Depth and body | Semi sweet chips (sweeter result) |
The balance here is a bit of a tightrope walk. According to Serious Eats, the ratio of fat to sugar is what determines if a frozen dessert feels "professional" or just like a frozen milkshake.
Essential Gear Needed
You'll need a small saucepan and a whisk for the base. A fine mesh strainer is a must if you want to avoid any tiny clumps of cocoa powder. Of course, you'll need your Ninja Creami pint and the machine itself to finish the process.
I usually use a digital scale for the chocolate to make sure I don't overdo the bitterness. If you're using a stand mixer such as a KitchenAid to blend the cream in, that works too, but a hand whisk is plenty.
| Original Ingredient | Substitute | Why It Works |
|---|---|---|
| Heavy Cream (180ml) | Full fat Coconut Milk (180ml) | Similar fat content. Note: Adds coconut flavor |
| Sugar (100g) | Maple Syrup (80ml) | Liquid sweetener. Note: Slightly more maple taste |
| Whole Milk (240ml) | Almond Milk (240ml) | Lighter base. Note: Less creamy finish |
Let's get into the actual steps. Trust me on the straining part it makes a huge difference.
The Making Process
Creating the Base
- Combine 240ml whole milk and 100g sugar in a saucepan over medium heat. Stir until the milk is steaming and the sugar has dissolved. Note: Avoid letting it boil so you don't scorch the milk.
- Whisk in 1/4 tsp salt and 30g cocoa powder. Stir constantly until the mixture is mahogany colored and smooth.
- Set the pan aside from the heat. Mix in 56g finely chopped dark chocolate and 1 tsp vanilla extract, stirring until the chocolate is fully melted and the base is glossy.
- Slowly whisk in 180ml heavy whipping cream.
- Pour the liquid through a fine mesh strainer into your Ninja Creami pint. Note: This removes any undissolved cocoa bits.
The Chill and Spin
- Secure the lid. Keep the pint flat in the freezer for 24 hours.
- Take the pint out and process it using the 'Ice Cream' or 'Lite Ice Cream' setting.
- Check the consistency. If it looks powdery, stir 1 tablespoon of milk into the center.
- Use the 'Re spin' function until the texture is thick and smooth.
Chef's Note: For an even richer taste, add a pinch of espresso powder during step 2. This enhances the chocolate flavor without adding a coffee note.
Fixing Texture Issues
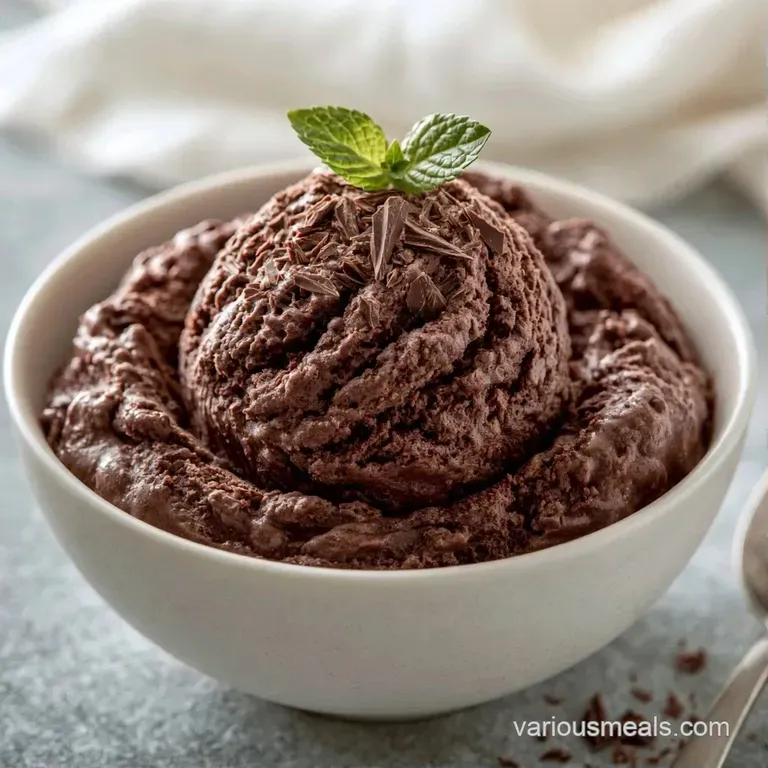
Fixing Powdery Texture
This happens often with Dark Chocolate Ice Cream because cocoa powder is a thirsty ingredient and absorbs moisture. The fix is a simple re spin. Add a splash of milk to the center of the pint and run the re spin cycle to re emulsify the fats.
Handling Ice Crystals
If you see tiny crystals, your freezer might be too warm or the pint wasn't level. Make sure the pint sits flat so the top freezes evenly. You can also try the re spin function, which shears through the crystals to smooth things out.
Adjusting Bitter Notes
Some dark chocolates are more intense than others. If the result is too bitter for your taste, whisk in a tablespoon of maple syrup or honey during the re spin. This balances the acidity of the cocoa without making it cloyingly sweet.
Adjusting the Batch Size
For half sized portions, use a smaller vessel but keep the freezing time at 24 hours. Reduce the cooking duration by approximately 20% because the diminished volume of milk will steam faster.
For larger quantities, divide the mixture into separate pints. Avoid doubling the recipe in a single pint to prevent it from overflowing. When doubling the base in a pot, only increase the salt and vanilla by 1.5x rather than 2x to maintain balanced flavors.
Flavor Twists to Try
If you want to change things up, try adding a swirl of peanut butter after the first spin. You can also fold in some crushed hazelnuts or sea salt flakes for a bit of contrast. For those who prefer a different style, my Chocolate Creami recipe is a great starting point for other variations.
You can also make a version of this that feels lighter by using a protein rich milk. If you're looking for something completely different, a Cream with Fairlife Milk recipe offers a refreshing change from the deep cocoa.
| Goal | What to change |
|---|---|
| More Fudgy | Add 1 oz more dark chocolate |
| Less Sweet | Reduce sugar by 20g |
| Airier Feel | Increase heavy cream by 30ml |
Storage and Waste Tips
Keep the pint in the back of the freezer, away from the door to avoid temperature fluctuations. It remains fresh for roughly two weeks. If it's too firm, leave it at room temperature for 5 minutes before scooping.
To minimize waste, save the remaining chocolate shards from your chopping bowl. Mix them into your breakfast oats or create a fast ganache to serve with fruit. Any remaining cocoa powder is perfect for sprinkling on a piece of banana bread.
Best Ways to Serve
I suggest serving this in a chilled bowl to slow down the melting process. Garnish with a handful of fresh raspberries or a bit of salted caramel to balance out the richness. If you want something truly indulgent, pair it with a scoop of the Chocolate Chip version.
For a more sophisticated touch, add a pinch of flaky Maldon salt. The salt hits your palate first, helping the deep chocolate flavor truly blossom. It elevates a simple homemade treat into an artisanal dessert.
You are now ready to create this rich, glossy delight. Just be sure to stick to that 24 hour freeze it is the secret to achieving a dense, professional texture. Enjoy!
Recipe FAQs
How to make this dark chocolate ice cream in the Ninja Creami?
Heat milk and sugar, then whisk in cocoa, salt, melted dark chocolate, and vanilla before adding cream. Pour the mixture into a pint and freeze for 24 hours before processing on the Ice Cream program.
What is the best way to make chocolate ice cream at home?
Combine milk and sugar over medium heat until steaming. Stir in cocoa and melted dark chocolate for a rich base, then freeze the mixture in a pint container for a full day.
Is it true that Ninja Creami ice cream is always healthy?
No, and here's why. This recipe uses sugar and heavy cream for richness, making it higher in calories than creamy protein options.
Can I substitute milk chocolate for the dark chocolate?
You can use milk chocolate, but the result will be sweeter and less intense. Using semi sweet dark chocolate ensures a bold, mahogany color and deep cocoa flavor.
Why does the finished ice cream sometimes feel powdery?
Add one tablespoon of milk to the center and select the Re-spin function. This adjustment smooths the texture if the base froze too hard.
Dark Chocolate Ice Cream