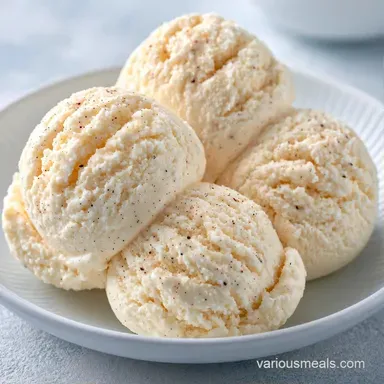
Vanilla Protein Ice Cream with Fairlife Milk
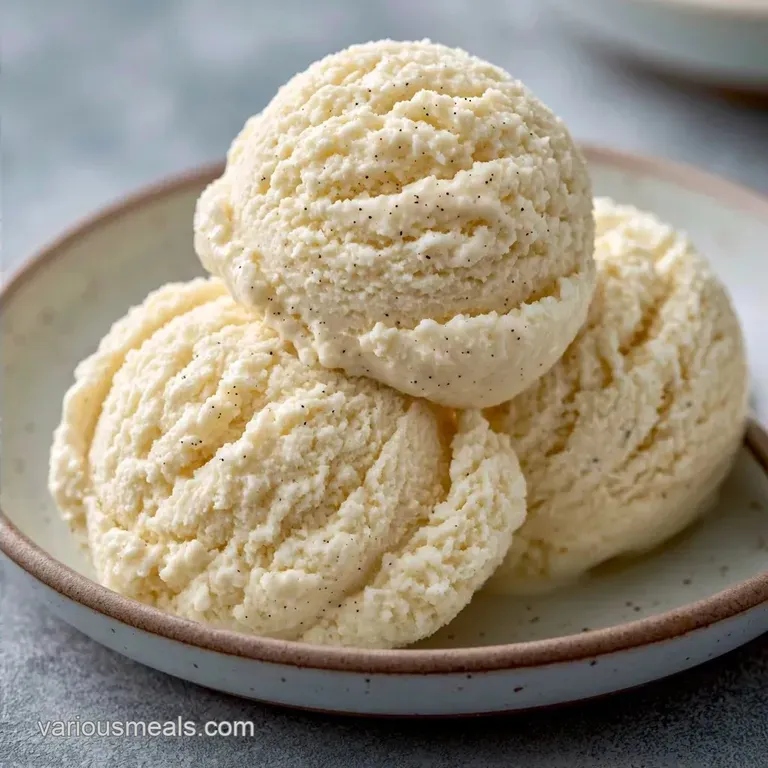
- Time: 5 min active + 1440 min chilling
- Flavor/Texture Hook: Silky and rich vanilla bean finish
- Perfect for: High protein meal prep snacks
I’ve come to adore the high pitched hum of the Ninja Creami. It’s the sound of a rock solid frozen cylinder transforming into a thick, soft serve swirl in roughly two minutes. There is nothing quite like that first scoop when the consistency is just right.
For too long, I dealt with protein "ice creams" that were essentially frozen yogurt filled with ice crystals. It felt like eating frozen sand. I wanted a dessert that hit my macros without tasting like a chemistry experiment.
This Vanilla Protein Ice Cream is the product of several trial and-error batches and a lot of sampling. It offers a massive hit of protein without the chalky aftertaste and is very affordable to make.
Vanilla Protein Ice Cream Specs
The goal here is a dense, scoopable treat that doesn't melt instantly. Because we're using a specific freezing and spinning process, we can skip the heavy creams. This keeps it nutrient dense and fits right into a meal prep routine.
Right then, let's look at the numbers. This recipe yields one pint. You'll spend 5 minutes mixing, then you have to wait 1440 minutes for it to freeze. Total time comes to 1445 minutes.
It's a patient game, but the result is a dessert that actually feels like a treat. Trust me, the 24 hour wait is what makes the texture work.
Why These Ingredients Work
Not all protein powders are created equal for freezing. If you use pure whey, you'll likely end up with a texture that's too airy or icy.
The Protein Blend: Using a whey and casein mix is the move here. Casein is thicker and holds onto water better, which stops those annoying ice crystals from forming.
The Pudding Mix: This is the real heavy lifter. The modified cornstarch in the mix acts as a stabilizer, giving the ice cream a heavy, traditional mouthfeel without the calories of heavy cream.
Ingredient Deep Dive
| Component | Purpose | Substitute Notes |
|---|---|---|
| Fairlife 2% Milk | Protein base & creaminess | Almond milk: Thinner result, less protein |
| Whey/Casein Blend | Bulk and structure | Pure Casein: Thicker, but can be chalky |
| SF Pudding Mix | Stabilizer/Texture | Xanthan gum (1/4 tsp): Works, but less flavor |
| Maple Syrup | Natural sweetness | Monk fruit: Zero calorie, slightly different taste |
The mix of fats and proteins here is what prevents the "frozen block" syndrome. According to USDA FoodData, the filtered nature of Fairlife milk provides a more concentrated protein source, which helps the Creami blade create a smoother emulsion.
Gear for the Job
Having the right gear makes this process much simpler. The Ninja Creami is the center of attention, as it's the only tool capable of shaving a frozen block into a creamy treat.
A handheld frother is also highly recommended. Trying to mix protein powder into cold milk with a fork is a struggle and often leaves you with chalky clumps in your first few bites.
Lastly, stick to the official pint containers. Third party cups may not lock in securely, which can lead to a disaster once the machine starts spinning at high speeds.
Making the Frozen Base
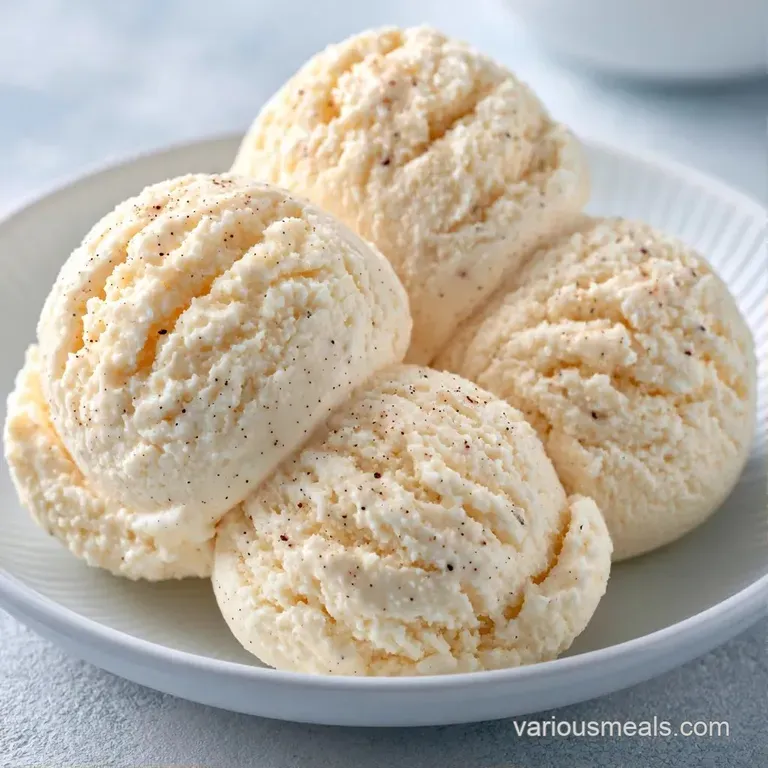
Let's crack on. The process is simple, but the timing is everything.
- Pour 1.5 cups Fairlife 2% milk into the Ninja Creami pint.
- Add 1 scoop (30g) vanilla protein powder and 1 tbsp sugar-free vanilla pudding mix. Note: Adding powders first prevents them from floating on top.
- Stir in 1 tbsp maple syrup, 1 tsp vanilla bean paste, and a pinch of fine sea salt.
- Use your handheld frother to blend until the mixture is completely smooth and no clumps remain.
- Secure the lid tightly and place the pint on a level surface in the freezer for 1440 minutes (24 hours).
- Take the pint out and let it sit on the counter for 5-10 minutes until the outer edges look slightly softened.
- Lock the pint into the outer bowl and select the 'Lite Ice Cream' program.
- Check the texture. If it's powdery, add 1 tbsp of milk and select the 'Re Spin' function until it looks glossy and thick.
Chef Note: Always freeze your pints on a flat surface. If the top freezes at an angle, the blade can hit the "hump" and cause the machine to shake or damage the blade.
Why This Texture Works
The trick is all in the micro shaving. The machine doesn't melt the ice cream; it shaves the frozen block into tiny particles.
Pudding Mix: The gums in the mix keep the water from clustering into large ice crystals. Casein Protein: This creates a thicker network that traps air, making the scoop feel heavier on the tongue.
If you're looking for something different, you might like my Chocolate Protein Ice Cream which uses a similar base but a deeper cocoa profile.
Fixing Common Texture Issues
Depending on your freezer's temperature, you might encounter a few hiccups. The most frequent problem is the "snow" effect, which leaves the ice cream crumbly rather than creamy.
Fixing a Powdery Texture
This occurs when the base is so cold that it doesn't fully emulsify during the first spin. Your batch isn't ruined; it simply requires a bit more moisture and friction.
Eliminating the Hump
Some pints develop a dome in the center while freezing. This hump can hinder the blade's movement or result in a grainy texture in the middle.
Managing a Chalky Taste
A dry mouthfeel often happens if the protein powder is too prominent. Adding a splash of milk or a touch more sweetener usually resolves this.
| Problem | Fix |
|---|---|
| Powdery/Crumbly | Add 1 tbsp milk and Re Spin |
| Frozen Hump | Scrape the top flat with a spoon before spinning |
| Chalky Aftertaste | Add an extra 1/2 tsp of vanilla bean paste |
Storage and Zero Waste
Once you've spun your Vanilla Protein Ice Cream, it's best to eat it immediately for that soft serve feel. However, you can put it back in the freezer for up to 7 days.
When you take it out a second time, it will be hard again. Just add a splash of milk and use the 'Re Spin' button to bring it back to life.
For zero waste, if you have leftover protein powder or pudding mix that's nearing its expiration, you can fold them into the base of this recipe. Just be careful not to over thicken the mix, or it won't freeze properly.
Fun Flavor Tweaks
The beauty of a basic vanilla base is that it works with everything. I often mix in a tablespoon of peanut butter or some fresh berries after the first spin.
If you want something more decadent, try my Cookies and Cream version for a bit of crunch.
For a fruitier twist, blend in a handful of frozen strawberries before freezing. Since we're using a "Lite" program, adding fruit can sometimes make it a bit icier, so you might need an extra Re Spin.
| Goal | What to change |
|---|---|
| Thicker scoop | Add 1 tsp more pudding mix |
| Sweeter taste | Increase maple syrup by 1 tsp |
| Lighter feel | Swap Fairlife for unsweetened almond milk |
Things to Pair It With
Since this is high in protein, it works well as a post workout snack. I love topping it with a few crushed almonds or a sprinkle of cinnamon.
Fresh raspberries provide a nice tart contrast to the creamy vanilla. Another great option is a drizzle of melted dark chocolate, which makes it feel like a cheat meal without the actual calories.
If you're feeling fancy, serve it in a chilled bowl with a side of fresh sliced bananas. It's a nutrient dense way to end the day without that heavy, sugary slump.
| Fresh Base | Shortcut Mix |
|---|---|
| Full control over sugar | Pre set flavor profiles |
| Budget friendly ingredients | More expensive per pint |
| Better macro ratios | Often contains more fillers |
Right then, that's how you do it. Just remember to be patient with the 24 hour freeze, and don't be afraid of the Re Spin button. Enjoy your scoops!
Recipe FAQs
How to make this protein ice cream?
Combine milk, protein powder, pudding mix, sweetener, vanilla bean paste, and salt in the pint. Blend with a frother, freeze for 24 hours, and process using the 'Lite Ice Cream' setting.
Can I add this ice cream to a protein shake?
Yes, it works great as a thickener for shakes or as a side. If you loved the rich consistency here, you might enjoy the dipping technique used for chocolate covered strawberries.
Is it true that you can skip the 24-hour freeze?
This one's false: The mixture must be frozen solid to allow the blade to shave the ice into a creamy texture. Skipping this step will result in a liquid slush.
Why did my ice cream come out powdery?
This usually happens when the base is too cold or lacks enough moisture. Add one tablespoon of milk and use the 'Re-Spin' function to smooth it out.
Which milk works best for the base?
Use Fairlife 2% milk for the highest protein content and best creaminess. Other milks may change the consistency or increase the sugar levels.
What happens if I freeze it for more than a day?
The ice cream stays safe in the freezer for up to 7 days. Just add a splash of milk and use the 'Re-Spin' button when you are ready to eat it again.
Vanilla Protein Ice Cream 2